DevOps Project-5 (Kubernetes deployment)


Project Description:
The project involves deploying a Netflix clone web application on a Kubernetes cluster, a popular container orchestration platform that simplifies the deployment and management of containerized applications. The project will require creating Docker images of the web application and its dependencies and deploying them onto the Kubernetes cluster using Kubernetes manifests. The Kubernetes cluster will provide benefits such as high availability, scalability, and automatic failover of the application. Additionally, the project will utilize Kubernetes tools such as Kubernetes Dashboard and kubectl to monitor and manage the deployed application. Overall, the project aims to demonstrate the power and benefits of Kubernetes for deploying and managing containerized applications at scale.
Step 1: Kubeadm Installation on EC2.
Pre-requisites
2 EC2 instance (master and worker)
Ubuntu OS (Xenial or later)
sudo privileges
Internet access
t2.medium instance type or higher
Lets create 2 EC2 instance with t2.medium.
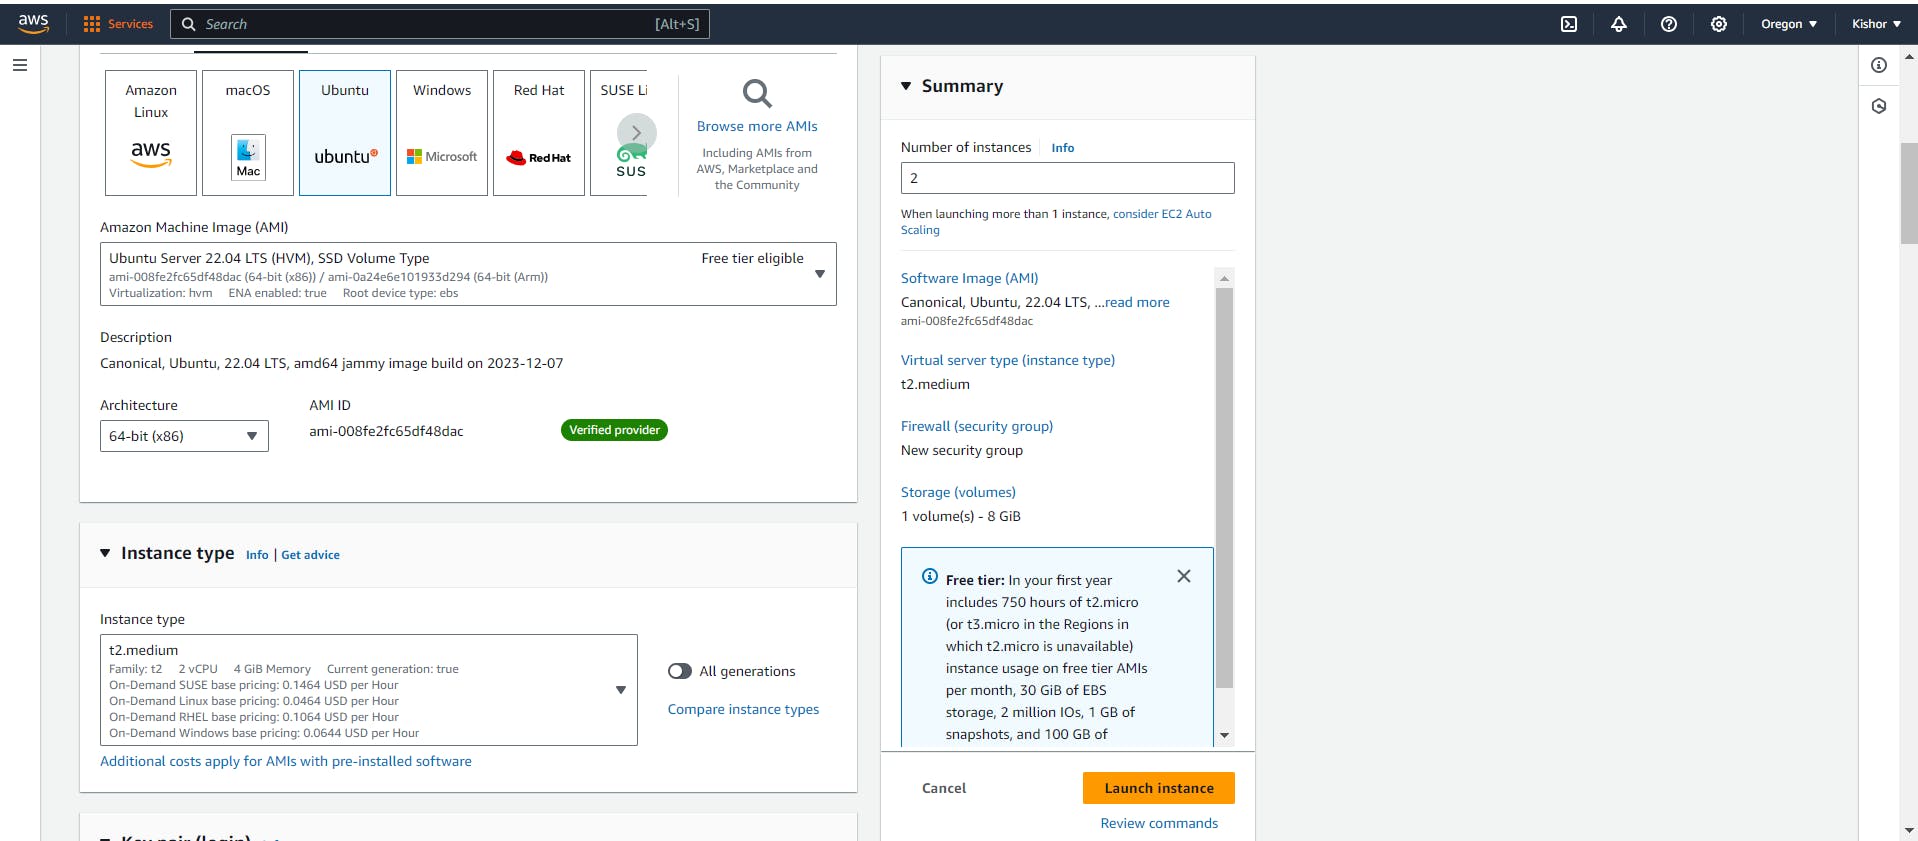
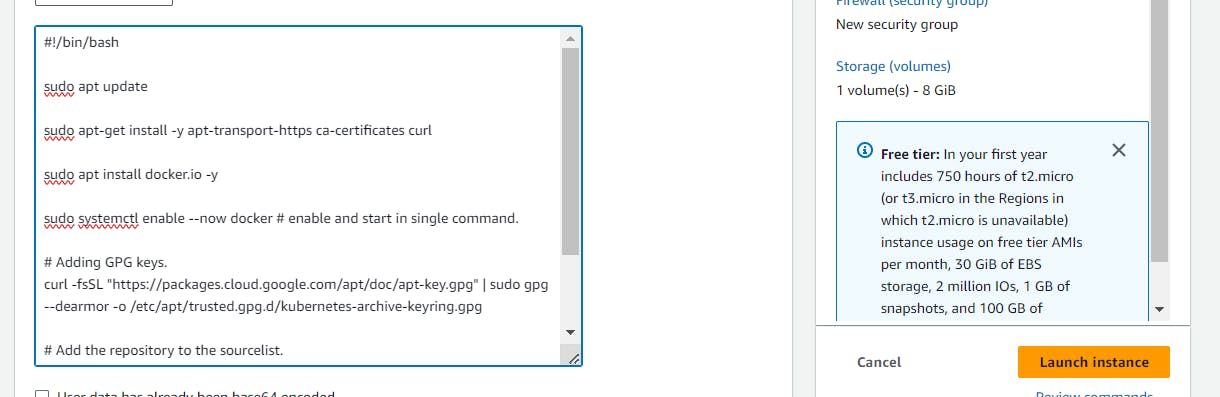
Will add below steps in user data stage as we want below steps to executed on both server.
#!/bin/bash
sudo apt update
sudo apt-get install -y apt-transport-https ca-certificates curl
sudo apt install docker.io -y

sudo systemctl enable --now docker # enable and start in single command.

# Adding GPG keys.
curl -fsSL "https://packages.cloud.google.com/apt/doc/apt-key.gpg" | sudo gpg --dearmor -o /etc/apt/trusted.gpg.d/kubernetes-archive-keyring.gpg

# Add the repository to the sourcelist.
echo 'deb https://packages.cloud.google.com/apt kubernetes-xenial main' | sudo tee /etc/apt/sources.list.d/kubernetes.list

sudo apt update
sudo apt install kubeadm=1.20.0-00 kubectl=1.20.0-00 kubelet=1.20.0-00 -y
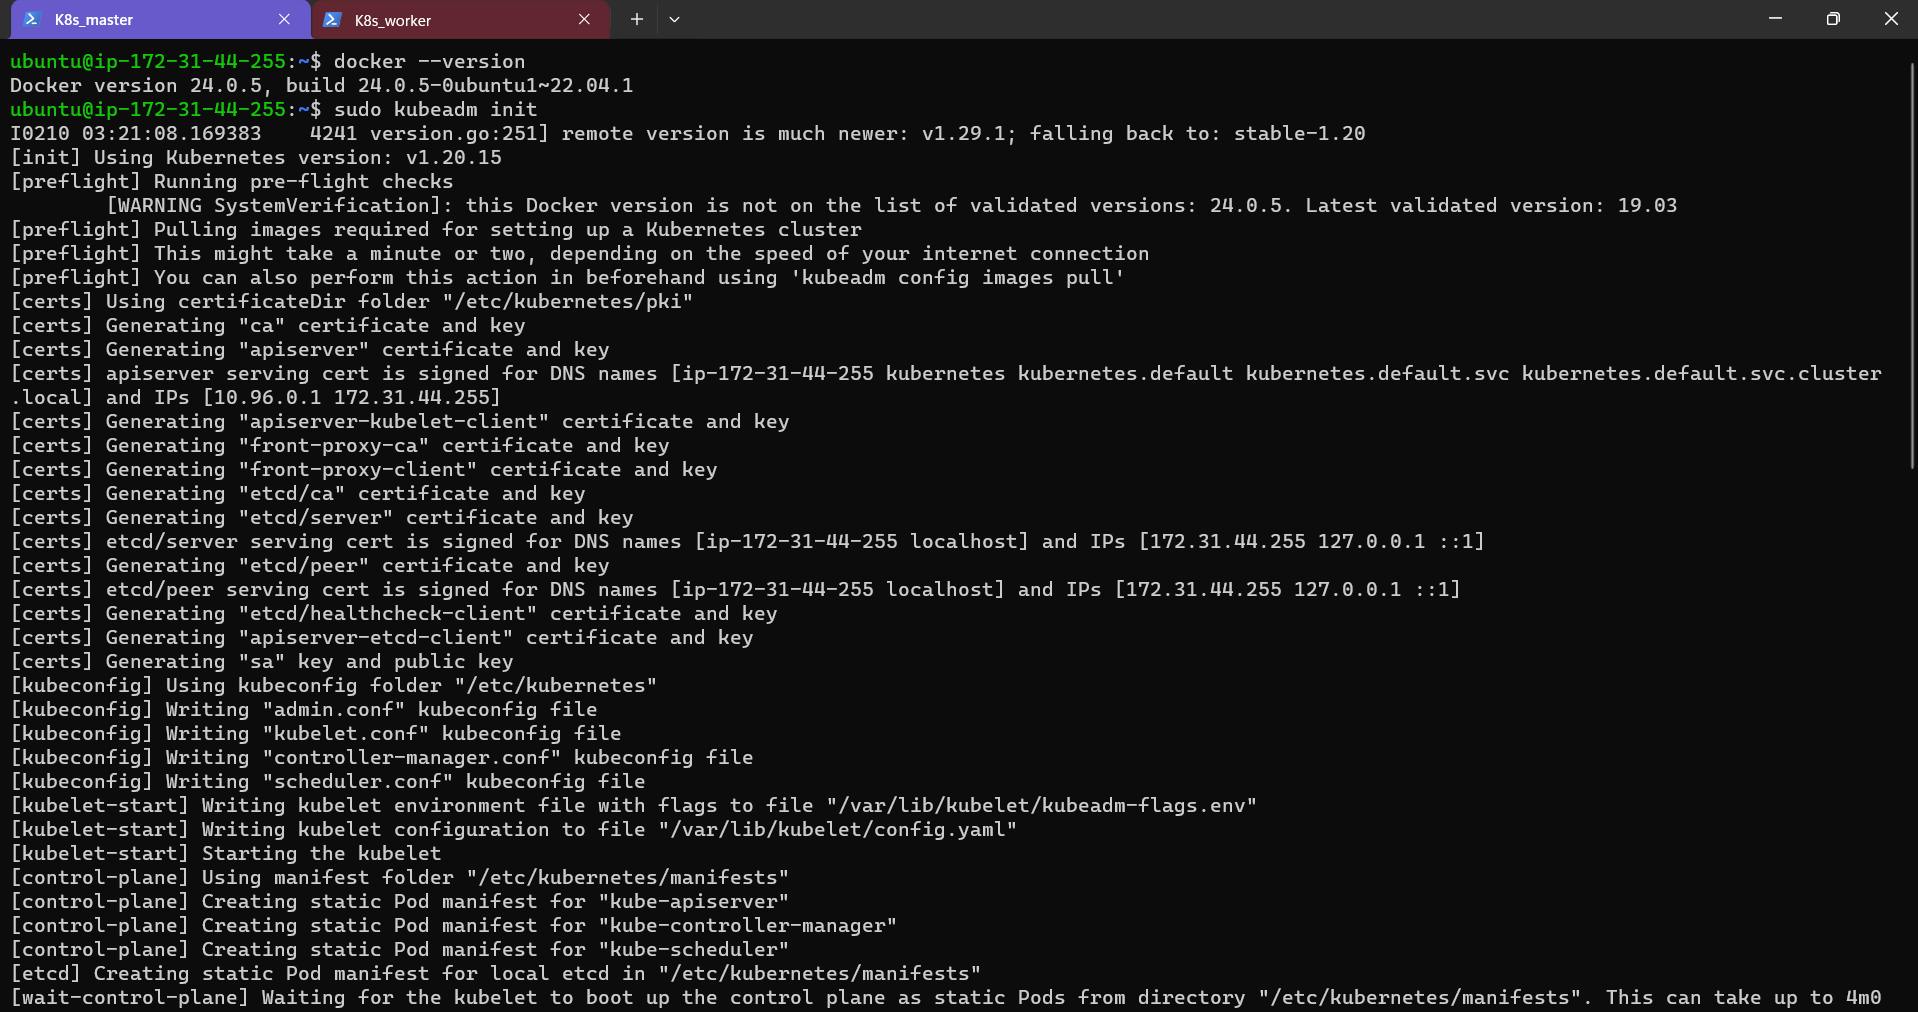
Step 2: Connect to both instance using SSH and execute below command.
sudo kubeadm init
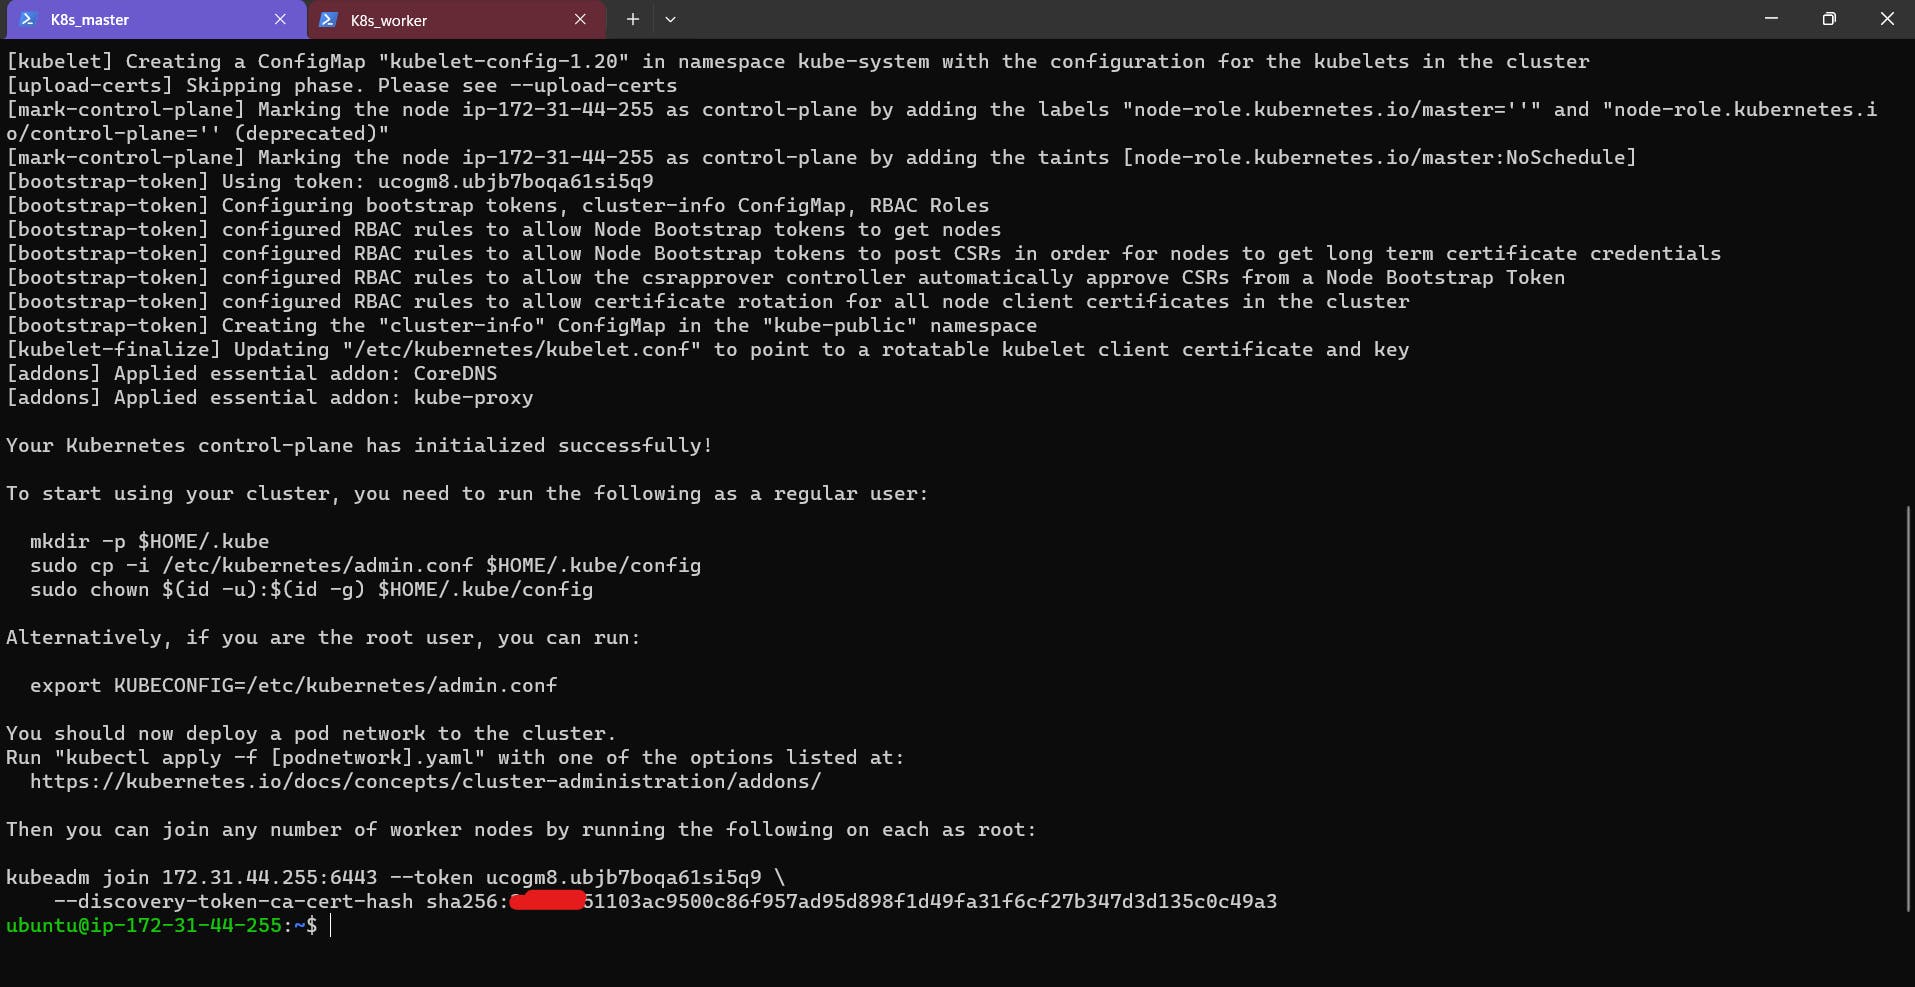
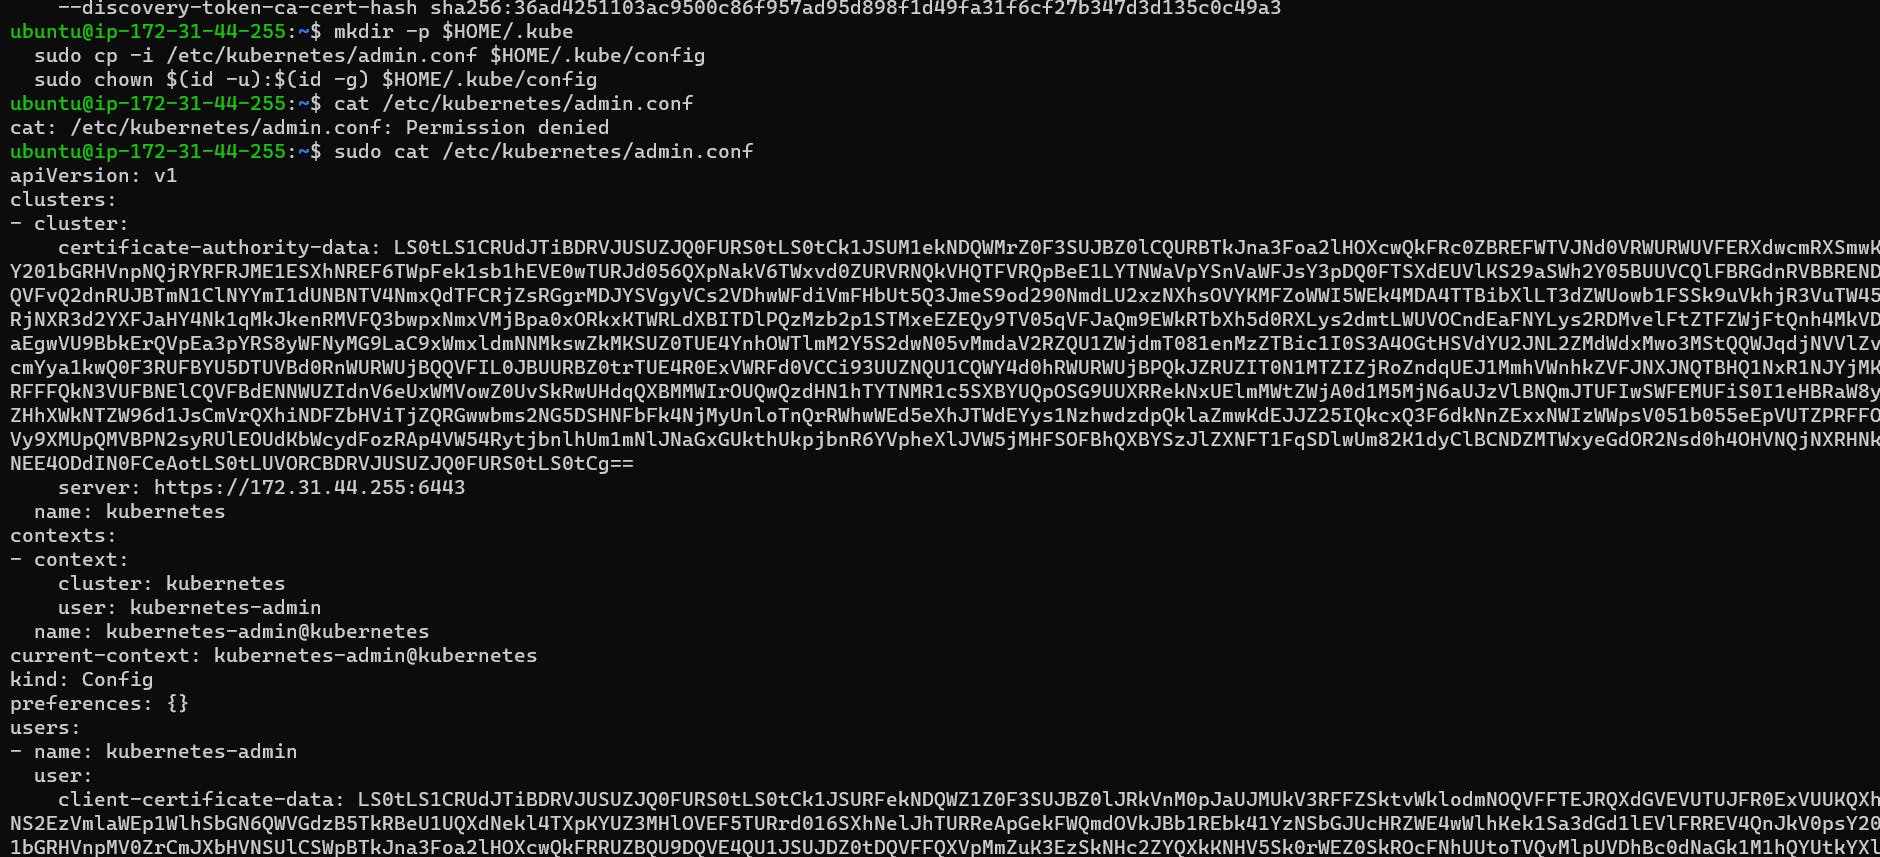
Step 3: Set up local kubeconfig (both for root user and normal user) by executing provided command in above step.
Step 4: Apply Weave network using below command.
kubectl apply -f https://github.com/weaveworks/weave/releases/download/v2.8.1/weave-daemonset-k8s.yaml

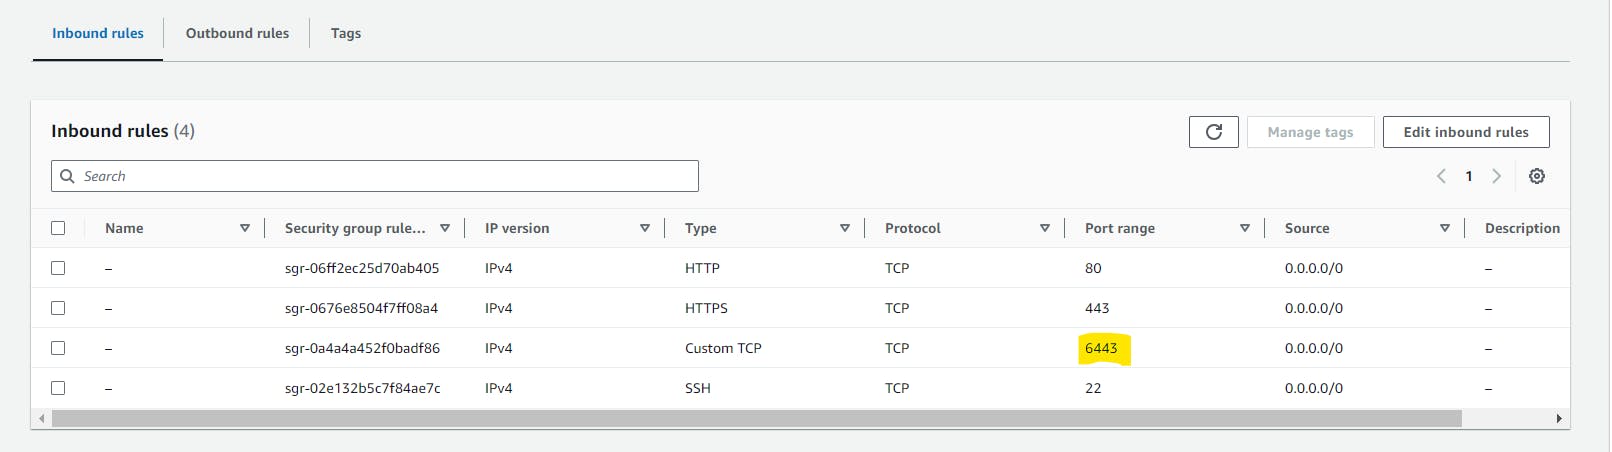
Step 5: Make sure you will enable port 6643 in security group.
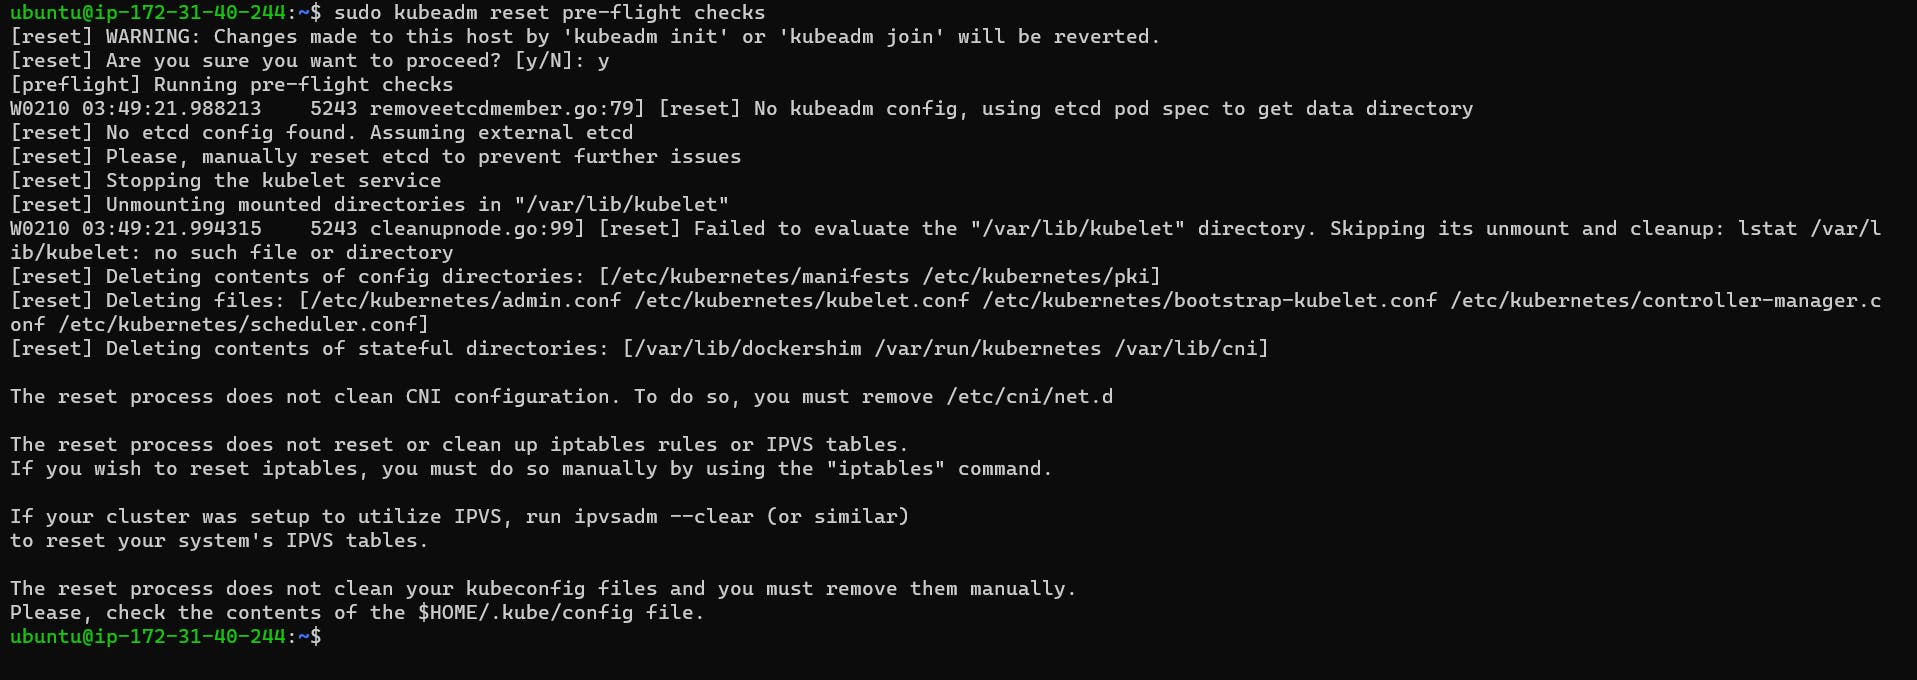
Step 6 (On worker node) : Execute below command
sudo kubeadm reset pre-flight checks
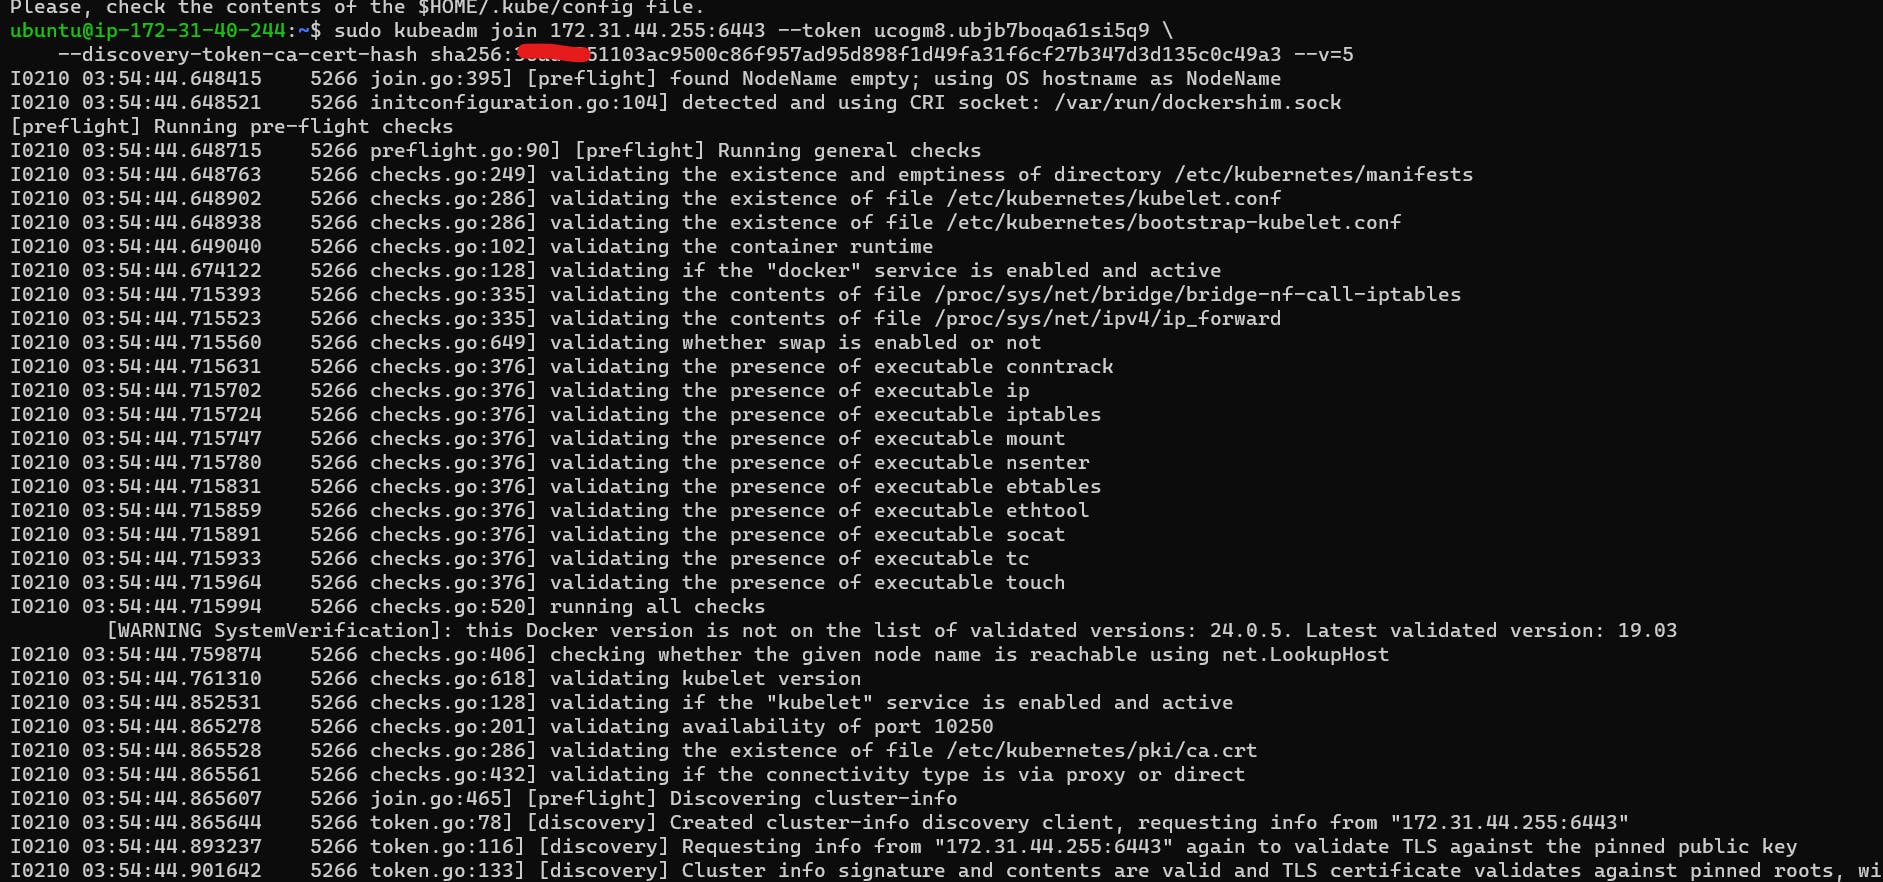
Step 7 (On worker node) :
Paste the join command you got from the master node(which was generated in step 2.) and append --v=5 at the end. Make sure either you are working as sudo user or use sudo before the command.
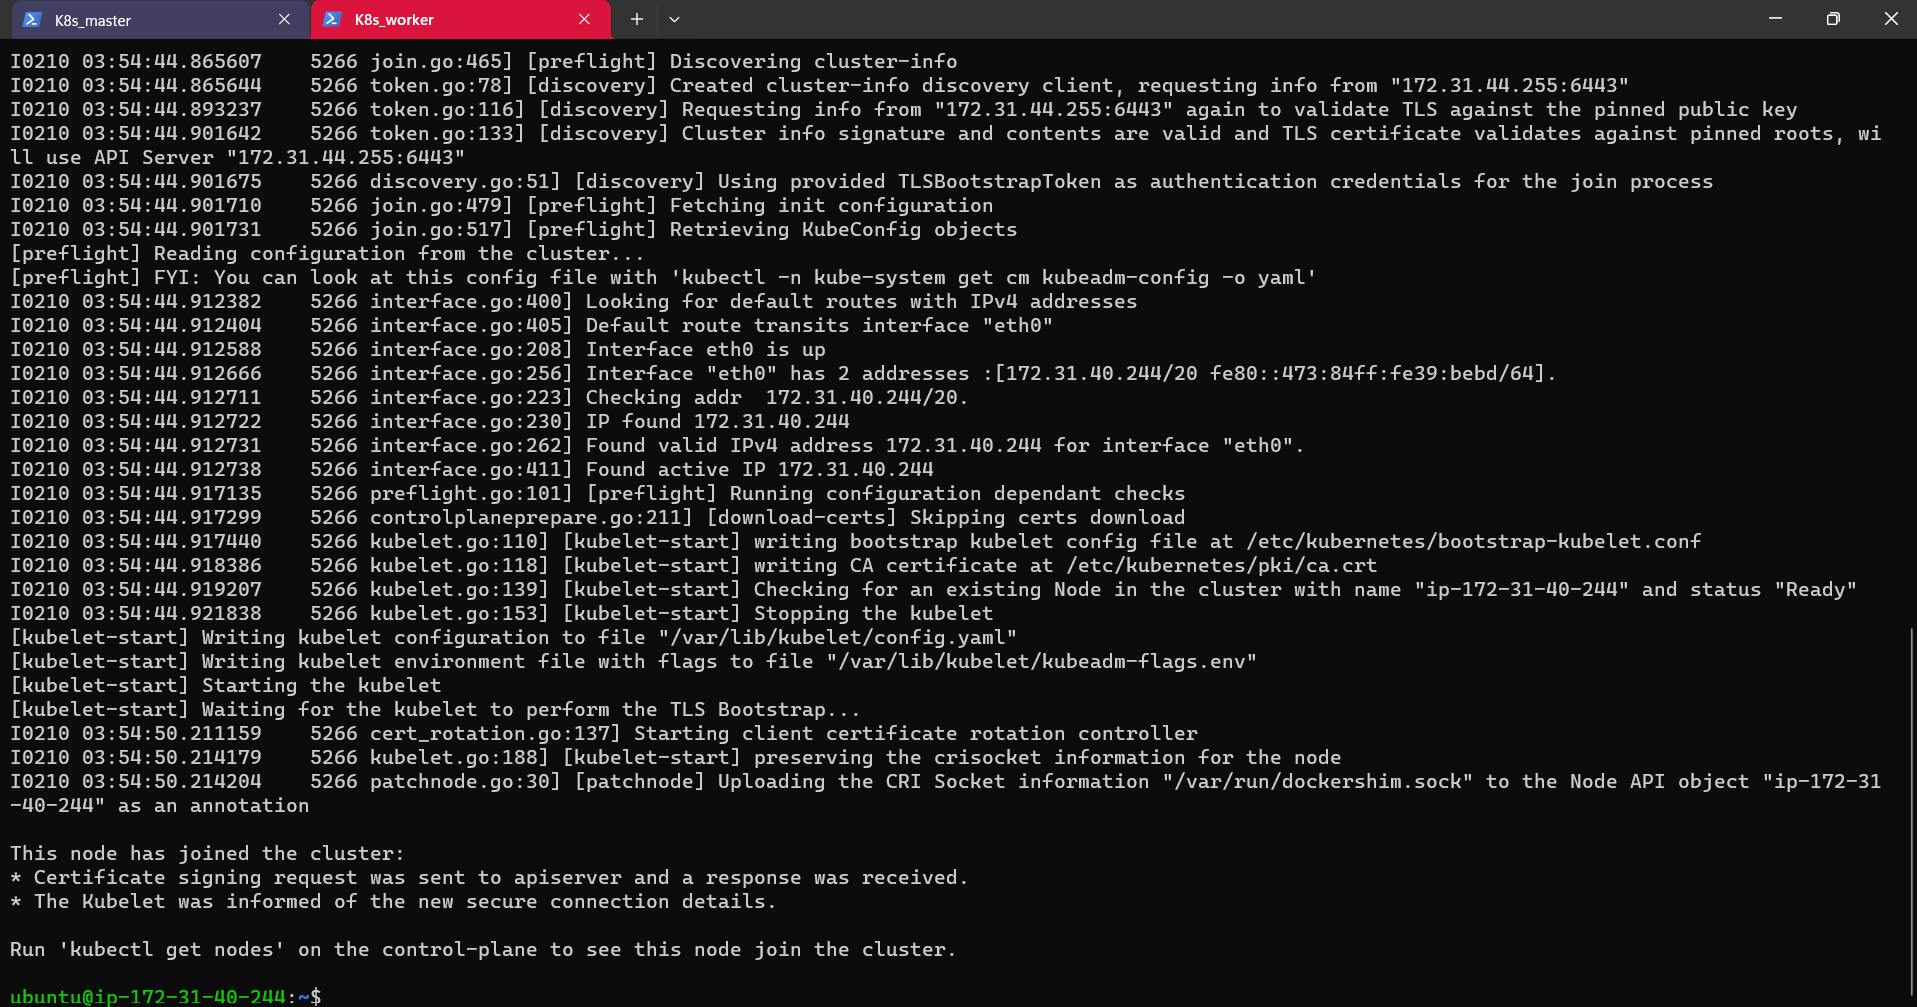
We have successfully joined worker node with master will test configuration using kubectl get nodes command on Master node.

We have successfully installed Kubeadm setup and created cluster using master and worker node.
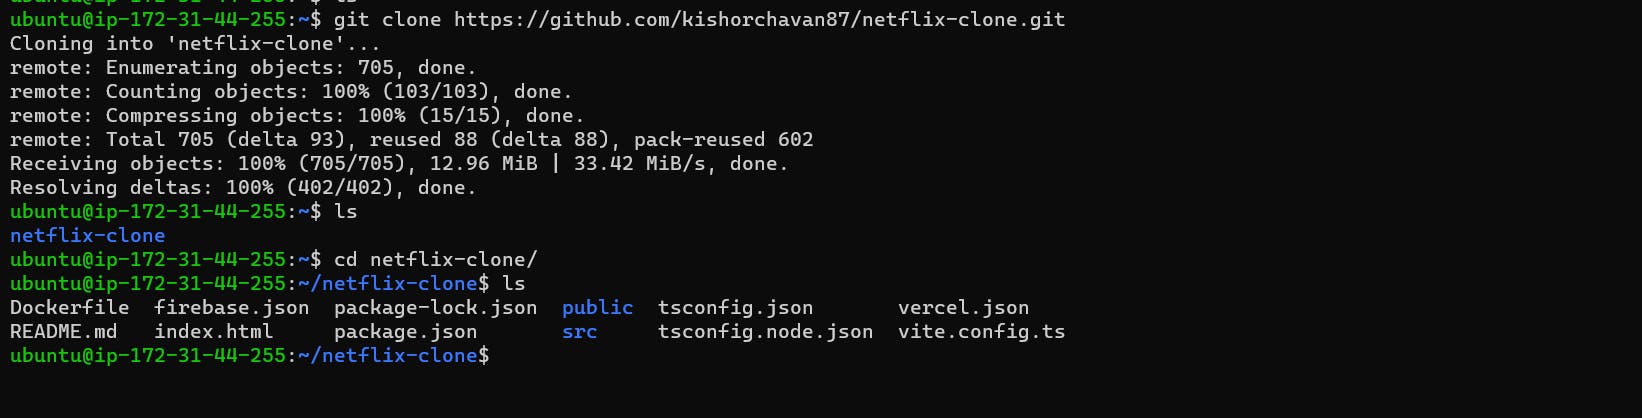
Step 8: Clone the Netflix Clone application from GitHub using below command
git clone https://github.com/kishorchavan87/netflix-clone.git
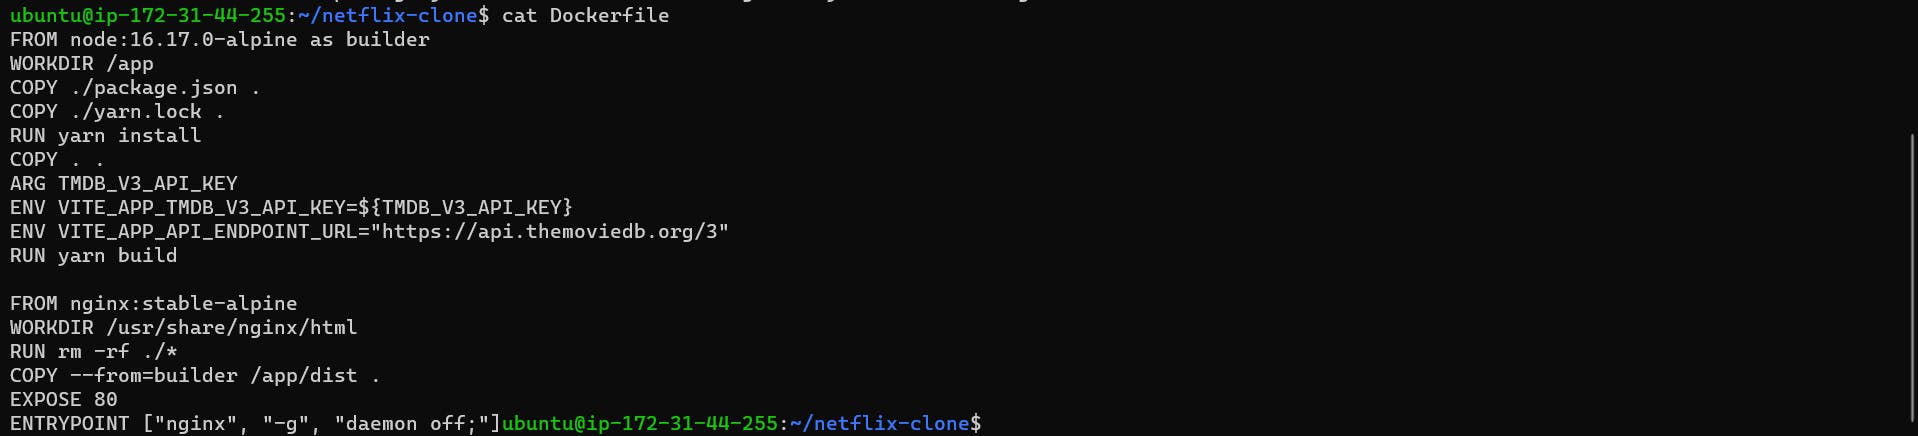
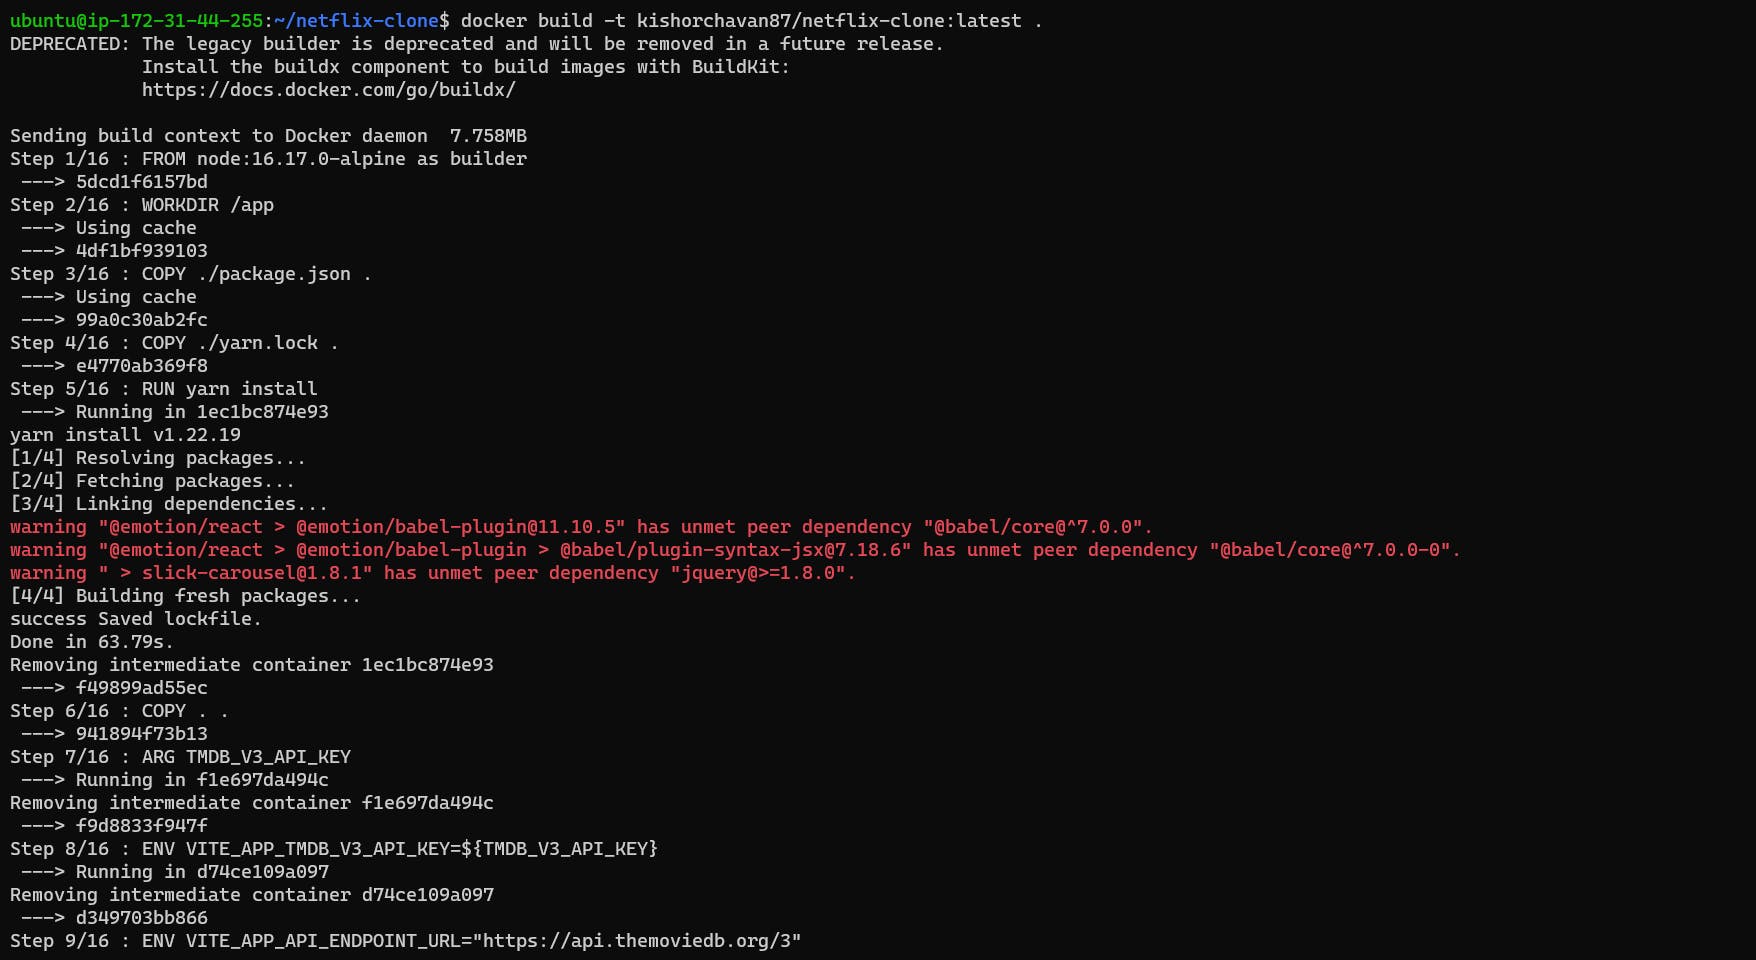
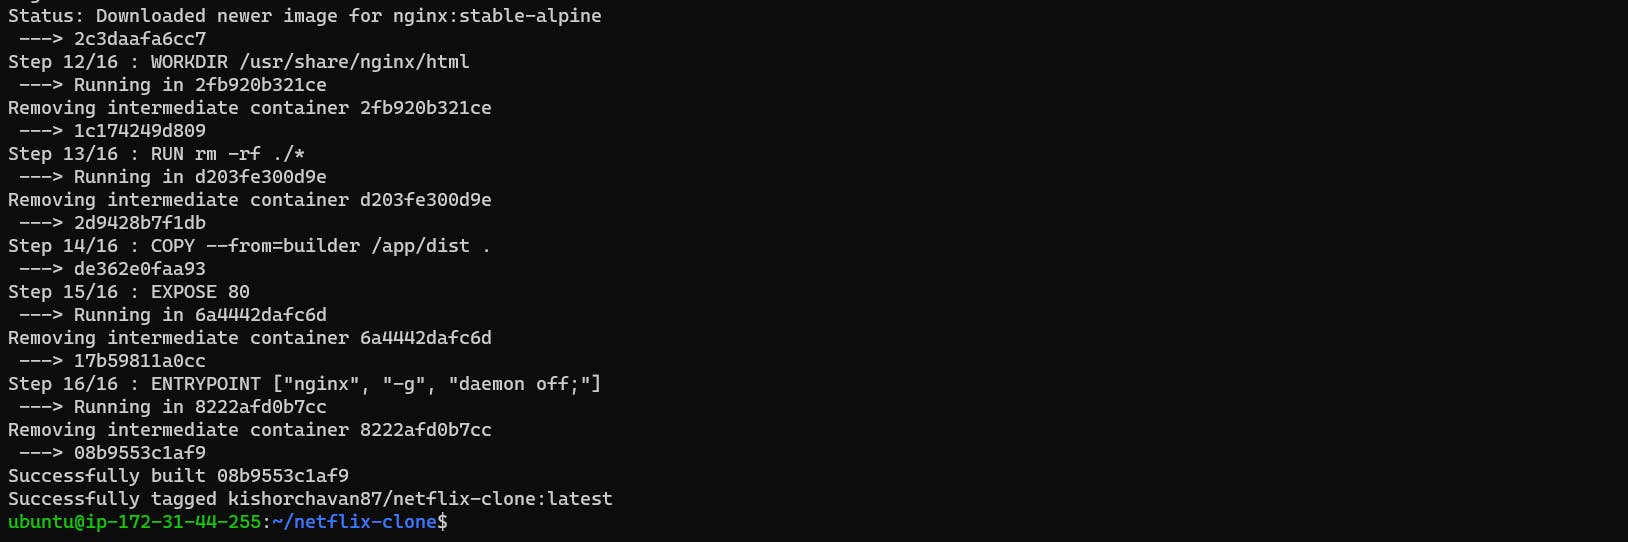
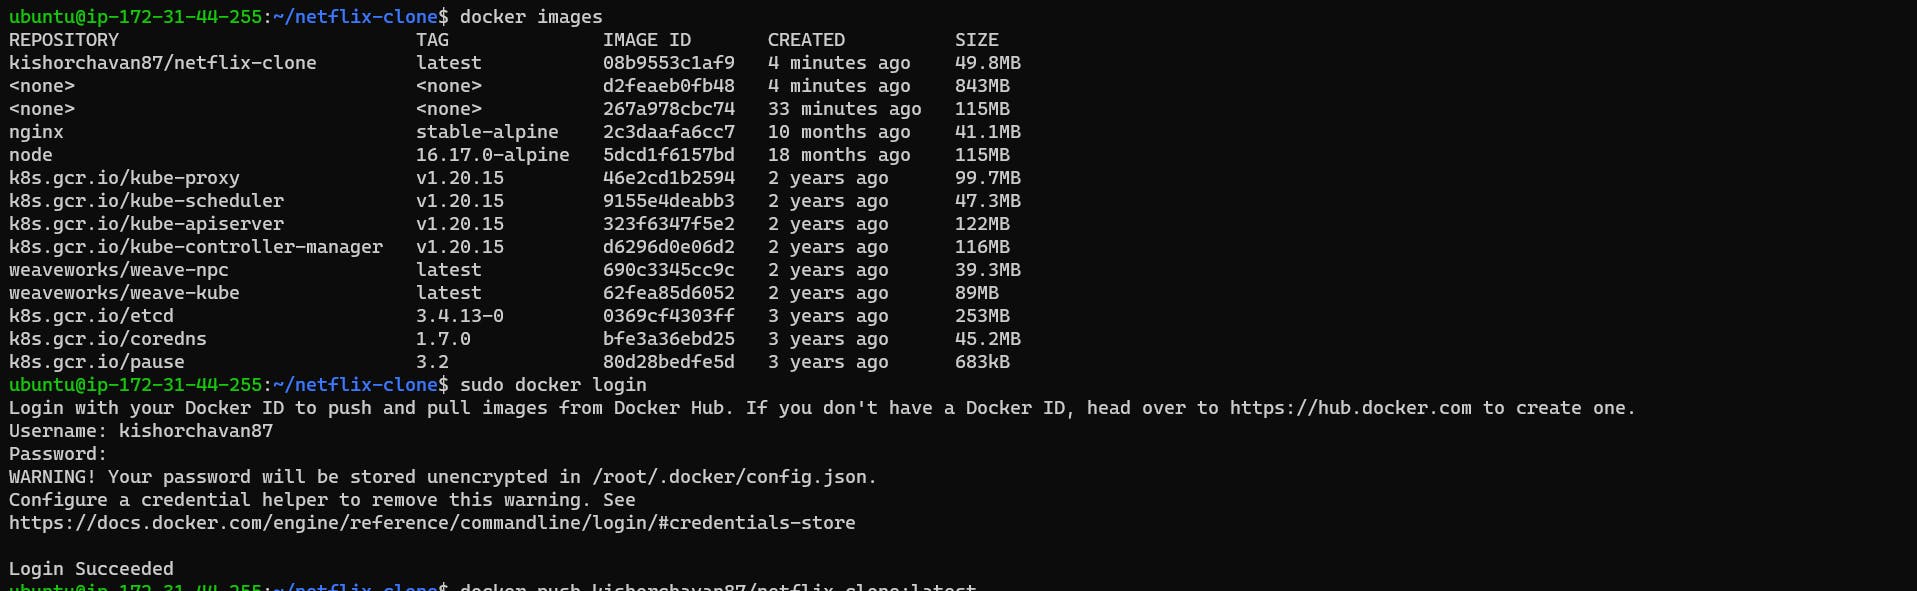
Step 9: Build docker image for netflix-clone and pushed image to docker-hub. (Make sure Dockerfile mentioned all dependencies)
Execute docker build command and push image to docker hub


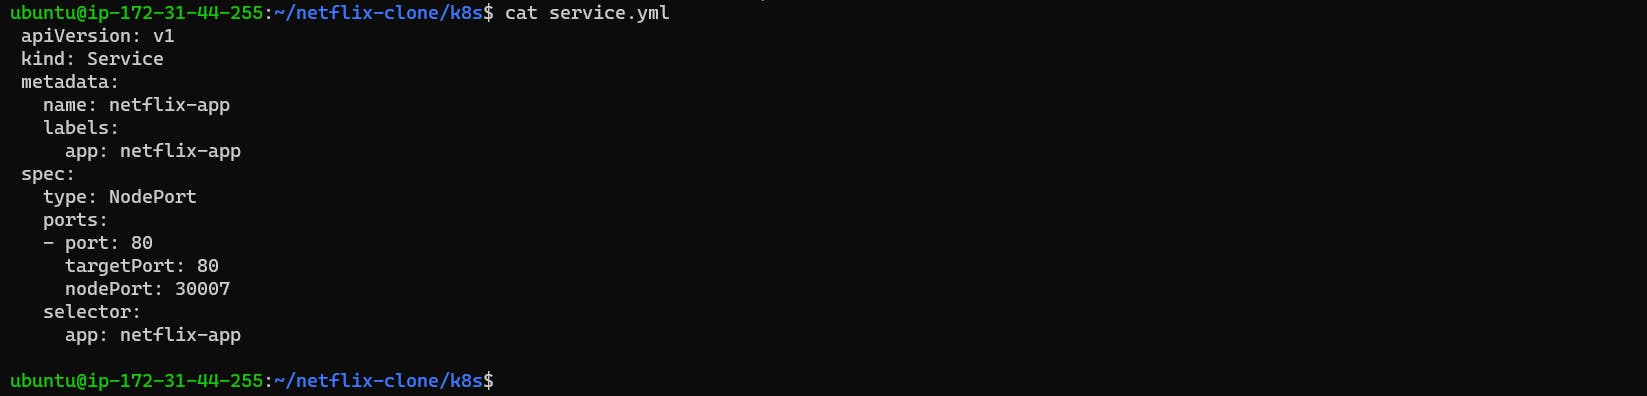
Step 10: Deploying project image with help of Kubernetes deployment.yml and service.yml file.(Please refer below snippet for script)
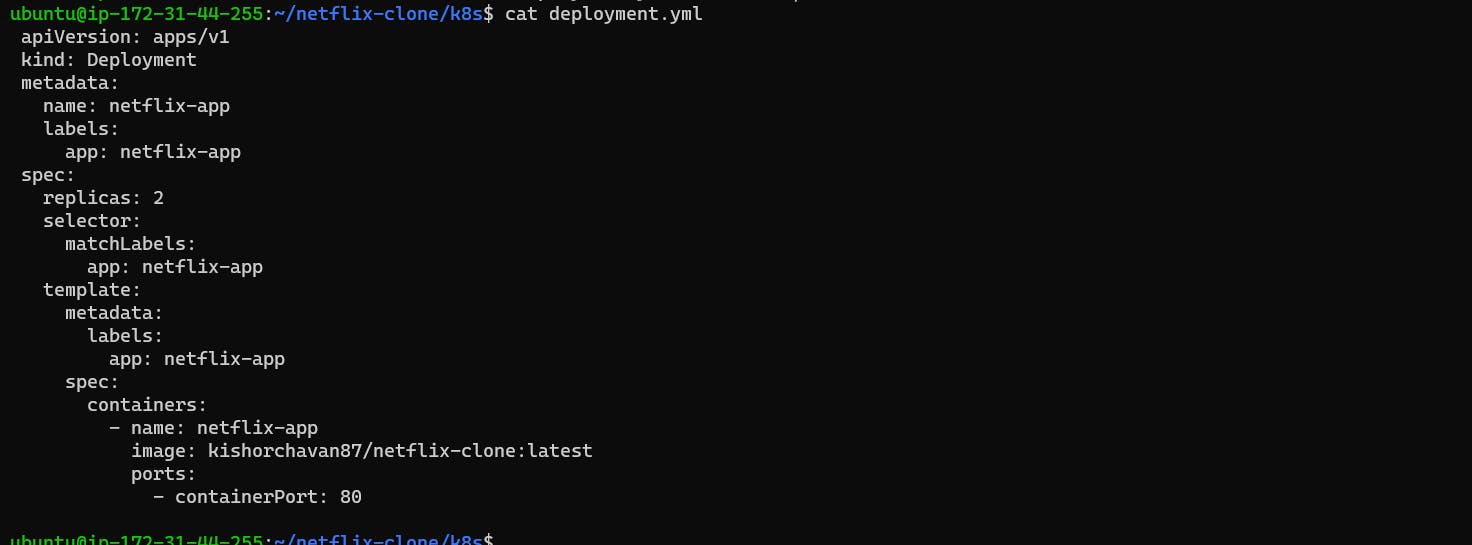
Step 11 : Apply changes with Kubernetes files.
 kubectl apply -f deployment.yml
 kubectl apply -f service.yml

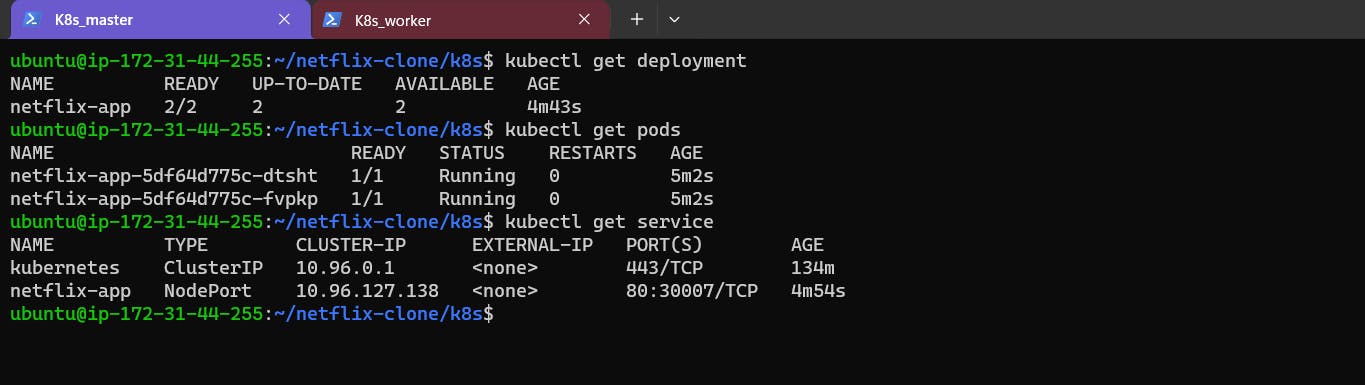
kubectl get deployment
kubectl get pods
kubectl get service
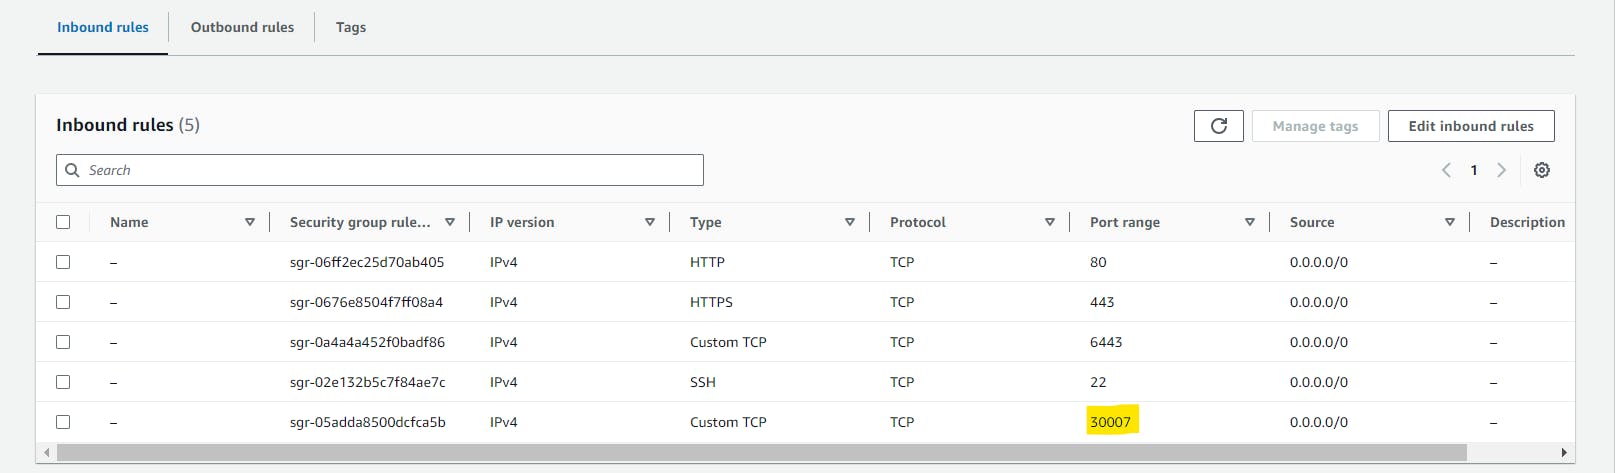
Step 12: Enable the port 30007 in worker node security group.
Step 13: Access deployment using workernode-publicip:30007.
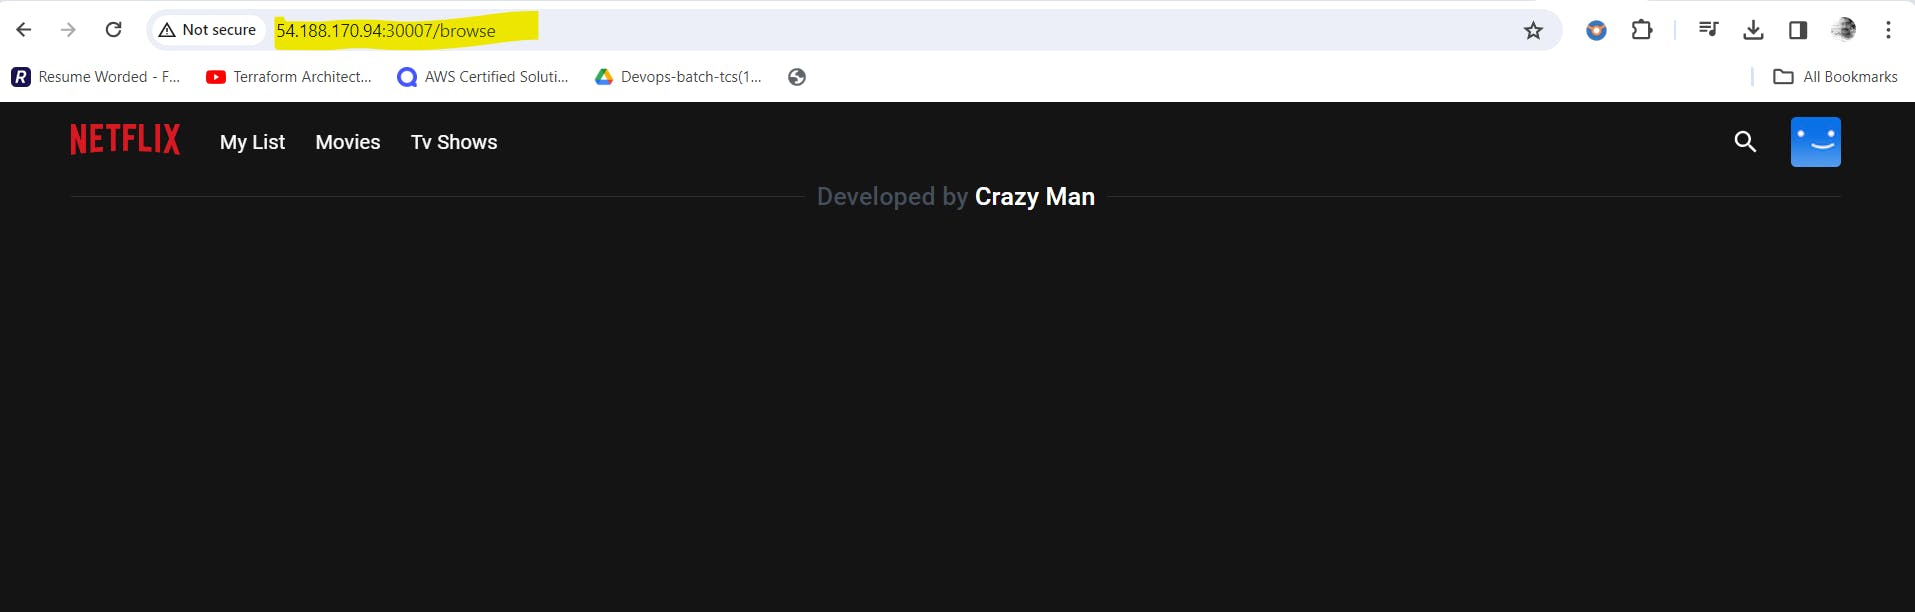
We are successfully deployed Netflix clone project with the help of Kubernetes.
I hope this article helpful.
Thanks,
Kishor Chavan